Table of Contents
Tutorial: Interactive Image in dokuwiki
This is a short tutorial on how to make an image in dokuwiki interactive by implementing clickable links in different areas of the image using HTML.
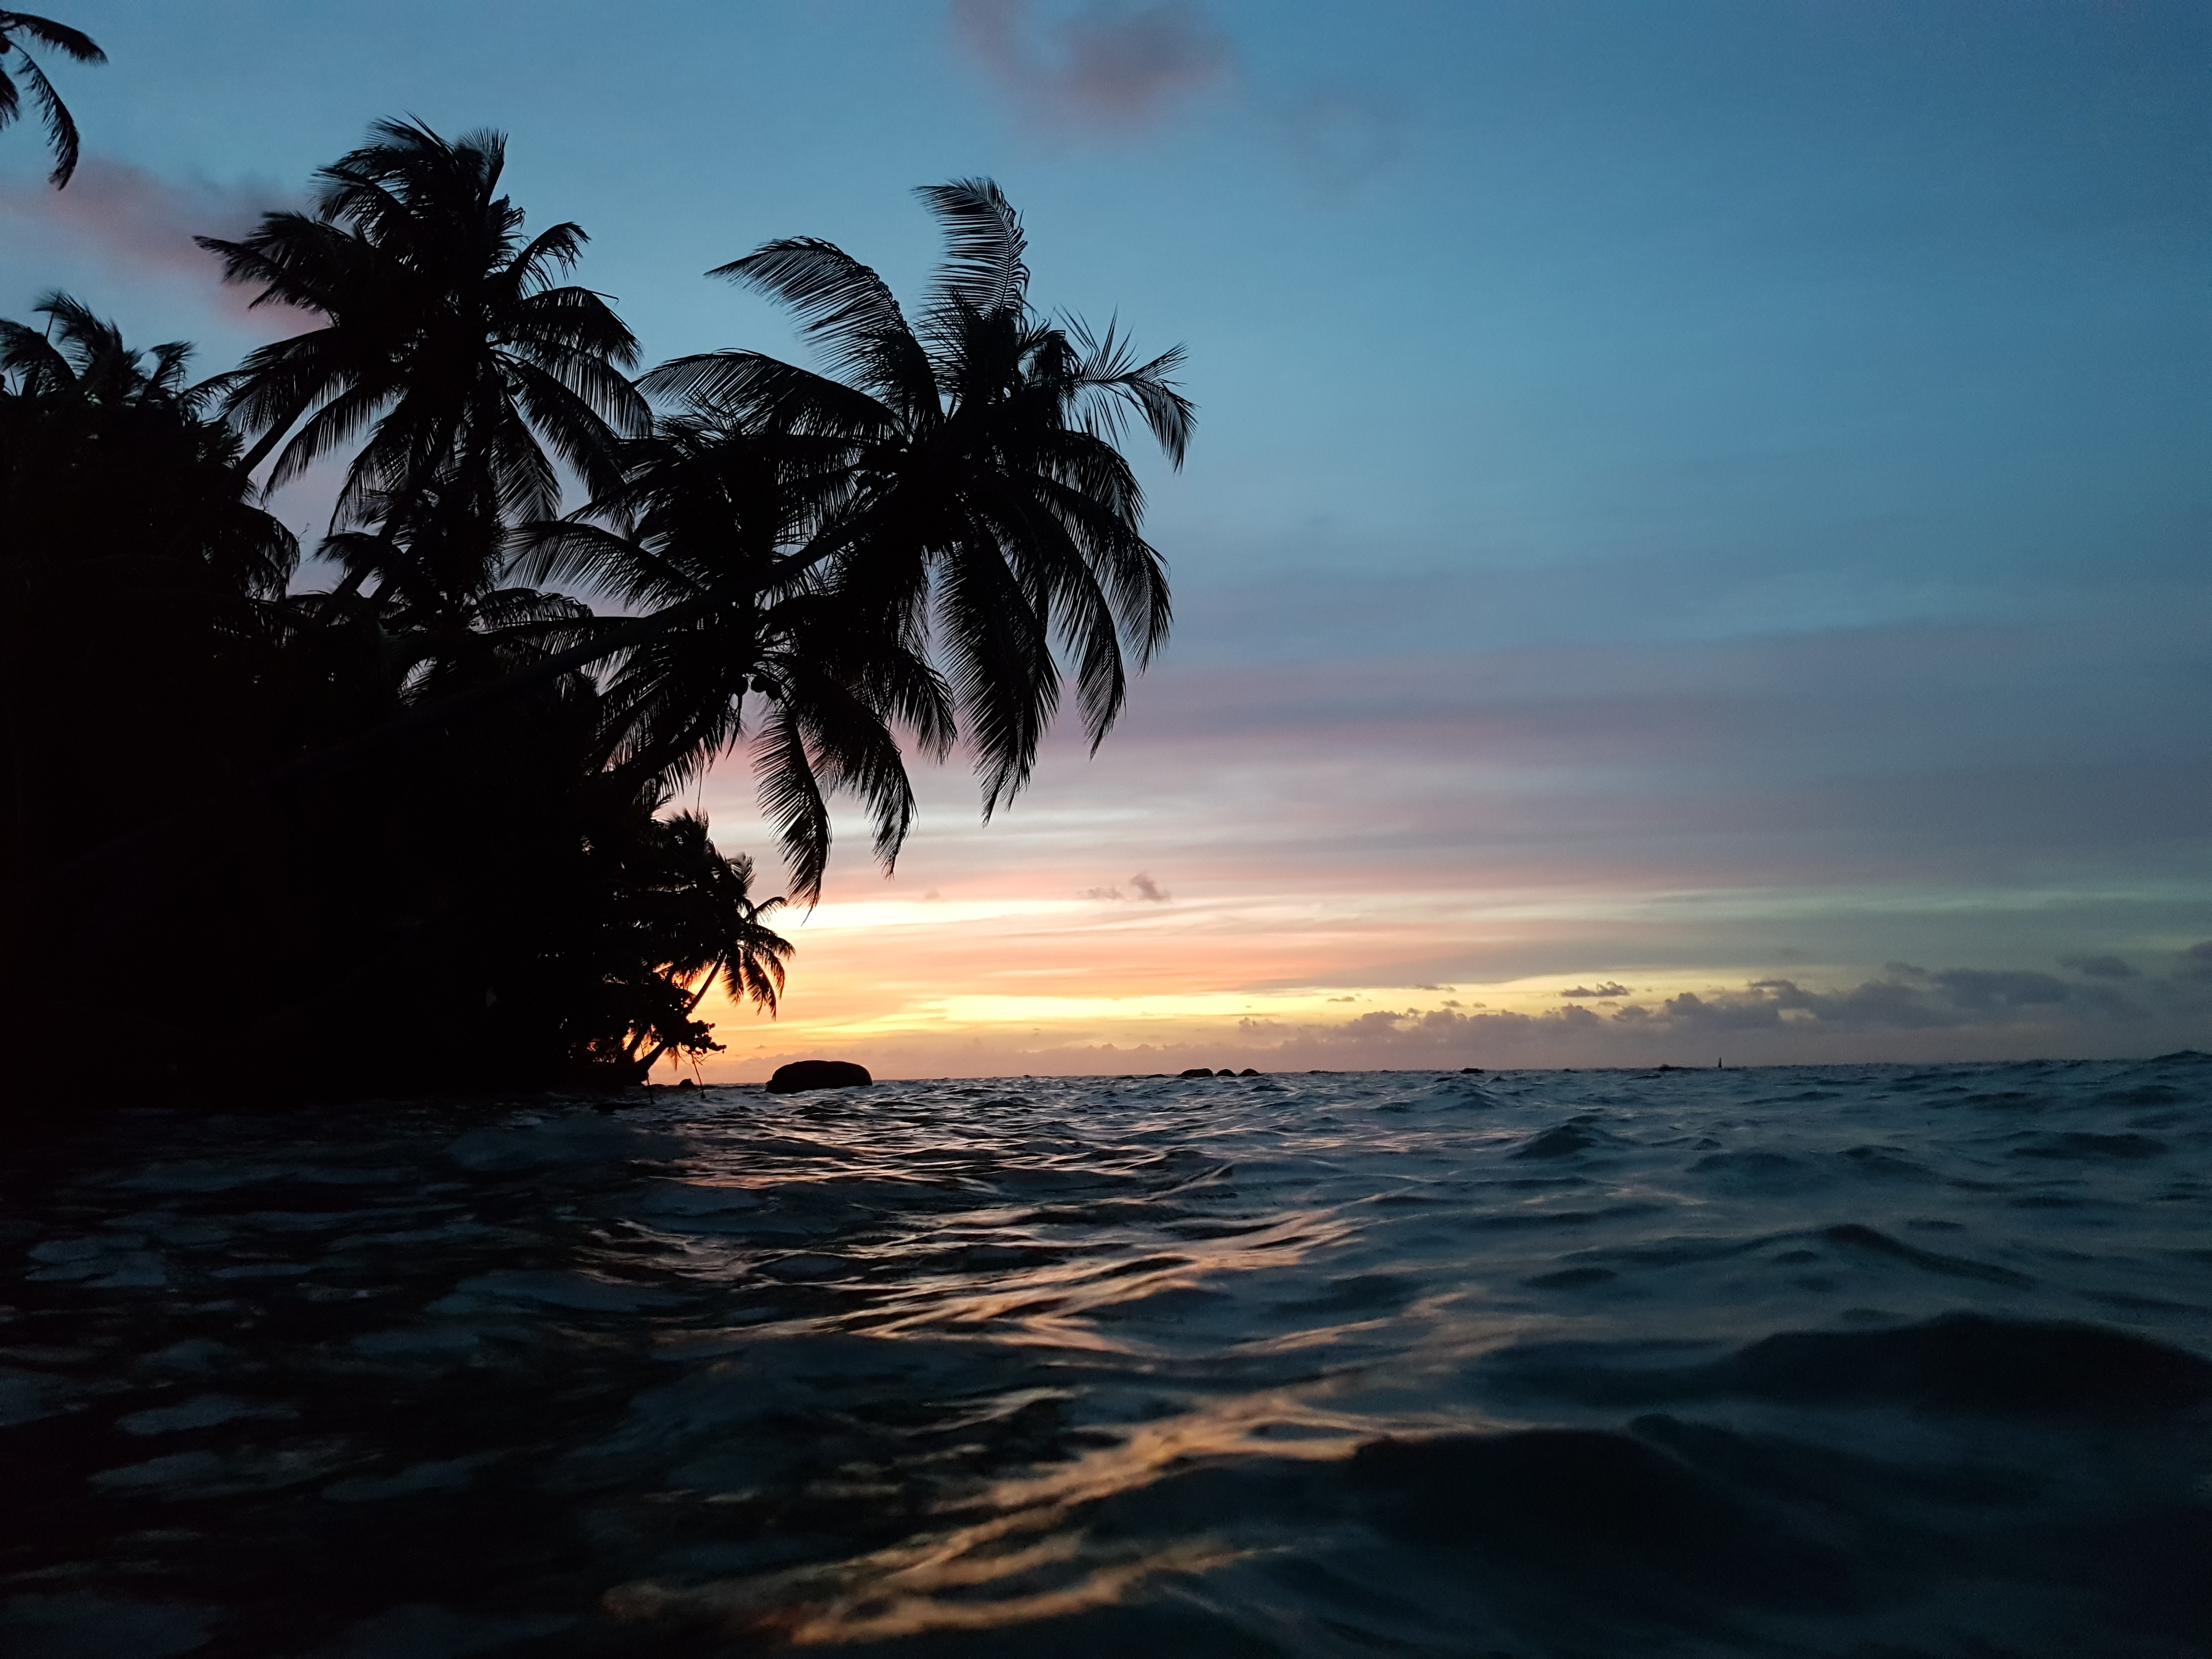
Below you see an image I use here as an example. I want to make three clickable areas which link to different webpages. The palm tree will link to google, the sunset to Wikipedia and the sea to YouTube. Of course, you can change the image and the links however you want. I used it in my project to make an interactive navigation to the different pages of my report. You can for example add an image of a schematic of your project and add links leading to the different pages describing the components.
 |
|---|
| Figure 1: Our example image. |
1. Get the Coordinates and Length/Width of the Areas
In the method used here, the shapes of the clickable areas containing the links (called hot-spots) are rectangles. So in the example, there will be a clickable rectangle-shaped area for the palm tree, one for the sunset and one for the sea. If you have chosen your picture, you need to get the following things:
- X and Y Position (in pixels) of the top left corners of your rectangles
- Width and Height of the rectangles in pixels
- Width and Height of the complete image in pixels
The easiest method is to use Paint and draw a rectangle where you want your hot-spot to be. Start from the lower right corner and shape so that you end with your cursor on the top left corner of the hot-spot. In the bar at the bottom, paint will display all of the needed information: X and Y, and width and height of the hot-spot and the image. Write that data down somewhere for example in an Excel sheet and repeat the process for all of the hot-spots you want to include.
 |
|---|
| Figure 2: Paint shows all the necessary information in the bar at the bottom. |
2. Calculate the Relative Positions and Width/Height
It is possible to just use the absolute coordinates and also create hot-spots in the shape of circles or polygons using a HTML-imagemap. But if the image is rescaled, for example when shown on a smartphone, the imagemap does not scale accordingly and the hot-spots are all over the place instead of where you want them.
A better solution is thus to just use rectangles, do it without an imagemap, and use the relative positions of the hot-spots. For that it is best to calculate the relative positions and lengths in an Excel spreadsheet.
The relative positions can be calculated like this:
$X_{relative}=\frac{X_{pixels}}{Width_{image, pixels}}*100$
For the Y position, use the image height instead of the width.
The relative width can be calculated like this:
$Width_{relative}=\frac{Width_{rectangle,pixels}}{Width_{image, pixels}}*100$
For the relative heights, just exchange the absolute widths with the absolute heights.
When you're done you should have a table like this:
 |
|---|
| Figure 3: Table showing the absolute and relative values |
3. Collect your links
When you got the relative values done, you need to get the URLs of the web-pages you want to link to, for example: https://www.google.de/
Collect those for all the hot-spots and maybe add them to the table for a better overview.
Afterwards you need to upload your image to dokuwiki and get the image link. You can get it when you click in the dokuwiki media files onto the magnifying glass which opens a new tab with the image in full resolution. You need to copy the URL from the tab and save it for later.
 |
|---|
| Figure 4: The magnifying glass opens the new tab |
4. Implement it all using HTML
The dokuwiki can interpret html code on its own. you just need to put your code in between the html tags:
<html>Code</html>
At first we need to create a div container which will contain both the image as well as the hot-spots, so we get:
<html>
  <div style="position: relative;">

  </div>
</html>
In the opening tag we indicate that the position should be relative. The implementation of the image and the links will be placed between the <d iv> and the </d iv> tag. To implement the image, we need the following code:
<img src="URL" style="width: 100%; height: auto;">
First we need to give the image source. Here you need to replace the “URL” with the actual URL of your dokuwiki image. After that we indicate that the displayed width of the image should represent a size of 100% and we choose to scale the height automatically according to the width.
When you are done with this, it is time to implement the different hot-spots. A hot spot can be created with the following code:
<a href="LINK"><div style="position: absolute; left: 36.72%; top: 23.59%; width: 6.72%;
height: 11.8%; background-color: rgba(0,0,0, 0.25);"></div></a>
The <a > tag creates a link which is defined with href. You need to replace the “LINK” with the URL you want to link to. The <d iv> tags inside the <a > tags contain the rectangles which can be clicked. Here you need to replace the percentages by your own relative positions:
- left: relative position of X
- top: relative position of Y
- width: relative width of the hot-spot
- height: relative height of the hot-spot
You can give the relative position also with some decimal places to be more accurate.
The last term (background-color: rgba(0,0,0, 0.25);) creates a translucent black rectangle where your hot-spot is located. This helps to check if all the entered values are correct and hot-spots are in the right place and not overlapping. When you are done, you can delete those terms or set the “0.25” to “0.0” to make it fully transparent.
Then you can repeat the last step for all the hot-spots you want to create. With the example image, the complete code would look like this:
<html>
  <div style="position: relative;">

    <img src="https://wiki.eolab.de/lib/exe/fetch.php?media=amc2020:group_n:example_image.jpg" style="width: 100%; height: auto;">

    <a href="https://www.google.de/"><div style="position: absolute; left: 24.13%; top: 9.69%; width: 31.08%; height: 34.94%; background-color: rgba(0,0,0, 0.25);"></div></a>

    <a href="https://www.wikipedia.org/"><div style="position: absolute; left: 24.93%; top: 46.99%; width: 47.25%; height: 17.23%; background-color: rgba(0,0,0, 0.25);"></div></a>

    <a href="https://www.youtube.com/"><div style="position: absolute; left: 3.99%; top: 66.83%; width: 85.64%; height: 26.49%; background-color: rgba(0,0,0, 0.25);"></div></a>

  </div>
</html>
If the complete code is just pasted into the dokuwiki, the result looks like this:
In the image you can also see the lightly shaded black rectangles where the hot-spots are. If you remove the background color or set the 0.25 to 0.0, they will disappear and the result looks like this:
Test it out yourself and click on the hot-spots to check out if the links are working.
Have fun with this cool feature and try it out in your own projects if you like!