How to setup a virtual machine with Ubuntu 20.04
Virtualization technologies such as virtual machines allow us to experience other operating systems without affecting, removing or changing our default operating system, you can think of it as a “virtual computer” inside your “real computer”, this allows us to create multiple virtual machines on our computer.
Before starting it is necessary to download and install the software VMware Workstation Player , if you are a Windows 64-bit user you can download it from this link. If you are a Mac OS user you can download VirtualBox directly from this link
The next step is to download Ubuntu 20.04, you can do it directly from this link (this step applies to Windows and Mac users).
Setup VMware and Ubuntu (Windows users)
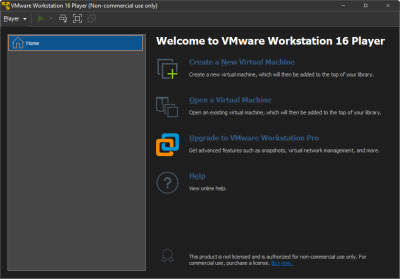
With VMware Workstation Player installed open vmplayer.
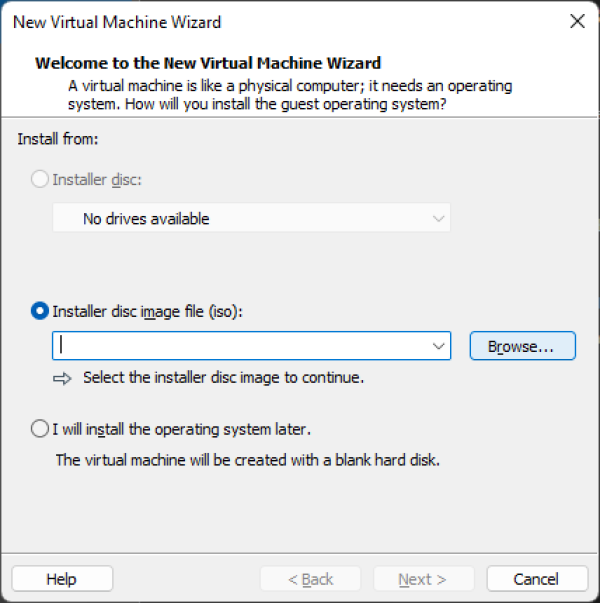
In the interface click on Create a New Virtual Machine, this will open a window where you must check Installer disc image file (iso), press the button Browse, browse and select the Ubuntu 20.04 file you downloaded earlier (usually called ubuntu-20.04.3-desktop-amd64.iso), then press Next.
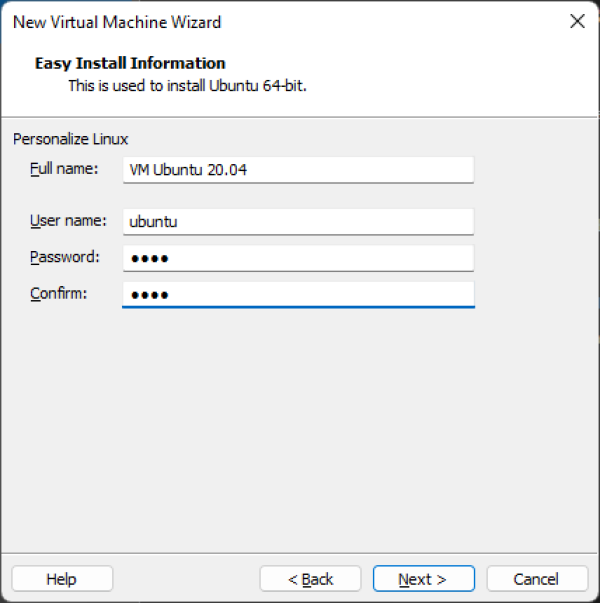
Fill in the information that your virtual machine will have and press Next.
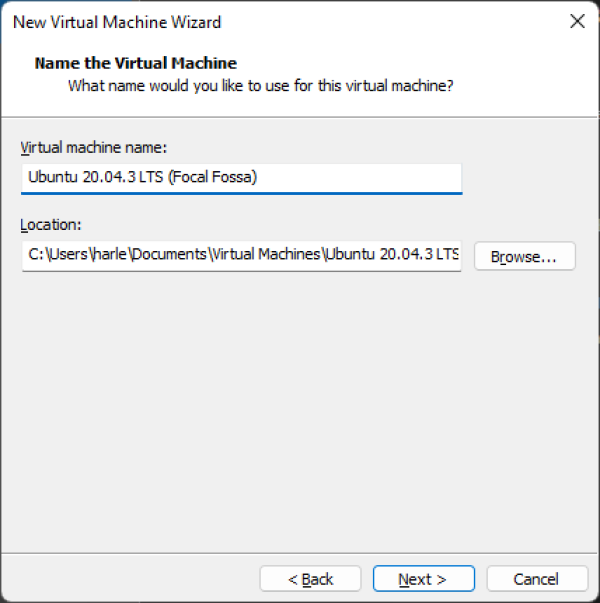
Give a name to the virtual machine, for example Ubuntu 20.04.3 LTS (Focal Fossa) and then press Next
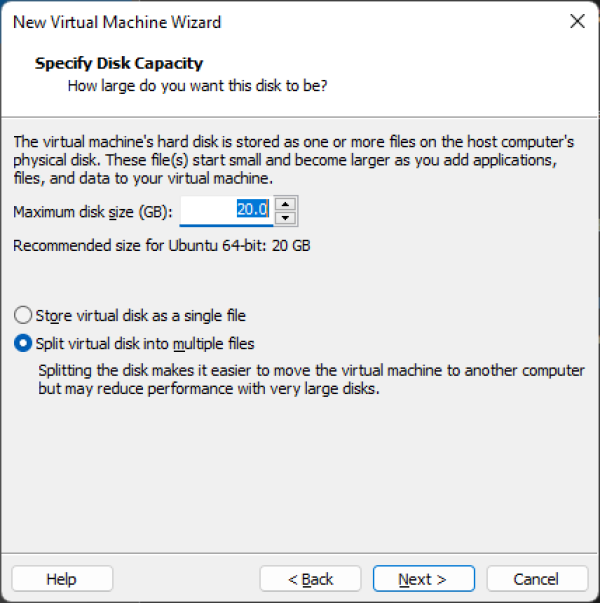
Keep the next window as it is and press Next.
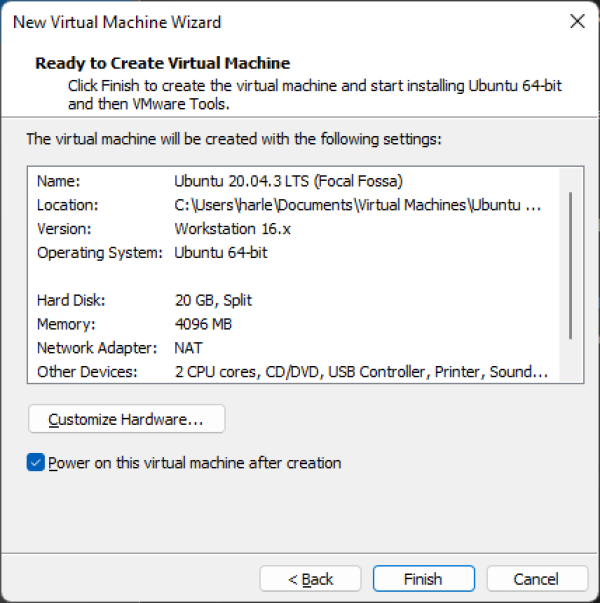
In the next window VMware Workstation Player adjusts the settings based on your computer so there is no need to change anything unless you know exactly what you are doing. Finally press Finish.
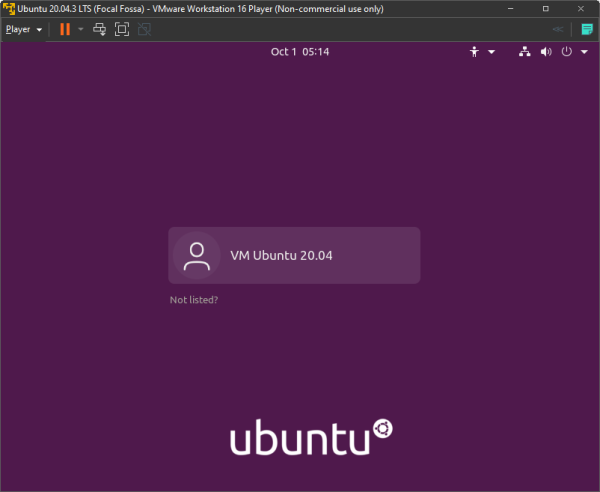
VMware will take care of configuring the operating system installation, so just wait until it is complete, you will see something like this.
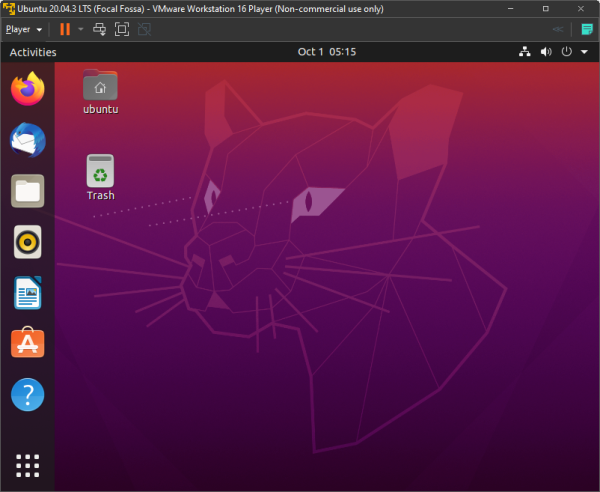
At this point the virtual machine is ready for you to start familiarizing yourself with the environment and the user interface.

